


You’ve finally decided to get a home wall safe. Congratulations! You will now have a storage space to keep your valuable items and prevent unauthorized access. But, your main concern is the installation process. There’s no need to panic and you don’t need somebody else to do it for you. As long as you have the right tools, installing a safe directly on your wall would be a piece of cake.
Before you stress yourself trying to figure out how to place the safe on the wall, here are a few simple tips that you can follow.
Pre-Installation Tips

Before you proceed with the installation, there are a few important things that you need to know. You cannot simply install the wall safe without understanding how it works. Here are a few things that you might want to check before you start cutting through your wall:
- Choose a wall safe that would fit your preference. This type of safe comes in different sizes. But, the regular ones range from 15 to 16 inches wide.
- Pay attention to the wall studs since you need to make sure that the vault would fit perfectly. The best thing to do is to inspect the studs from your wall through a stud finder. Do this before you run to the store and buy a safe as it would help you choose the right size.
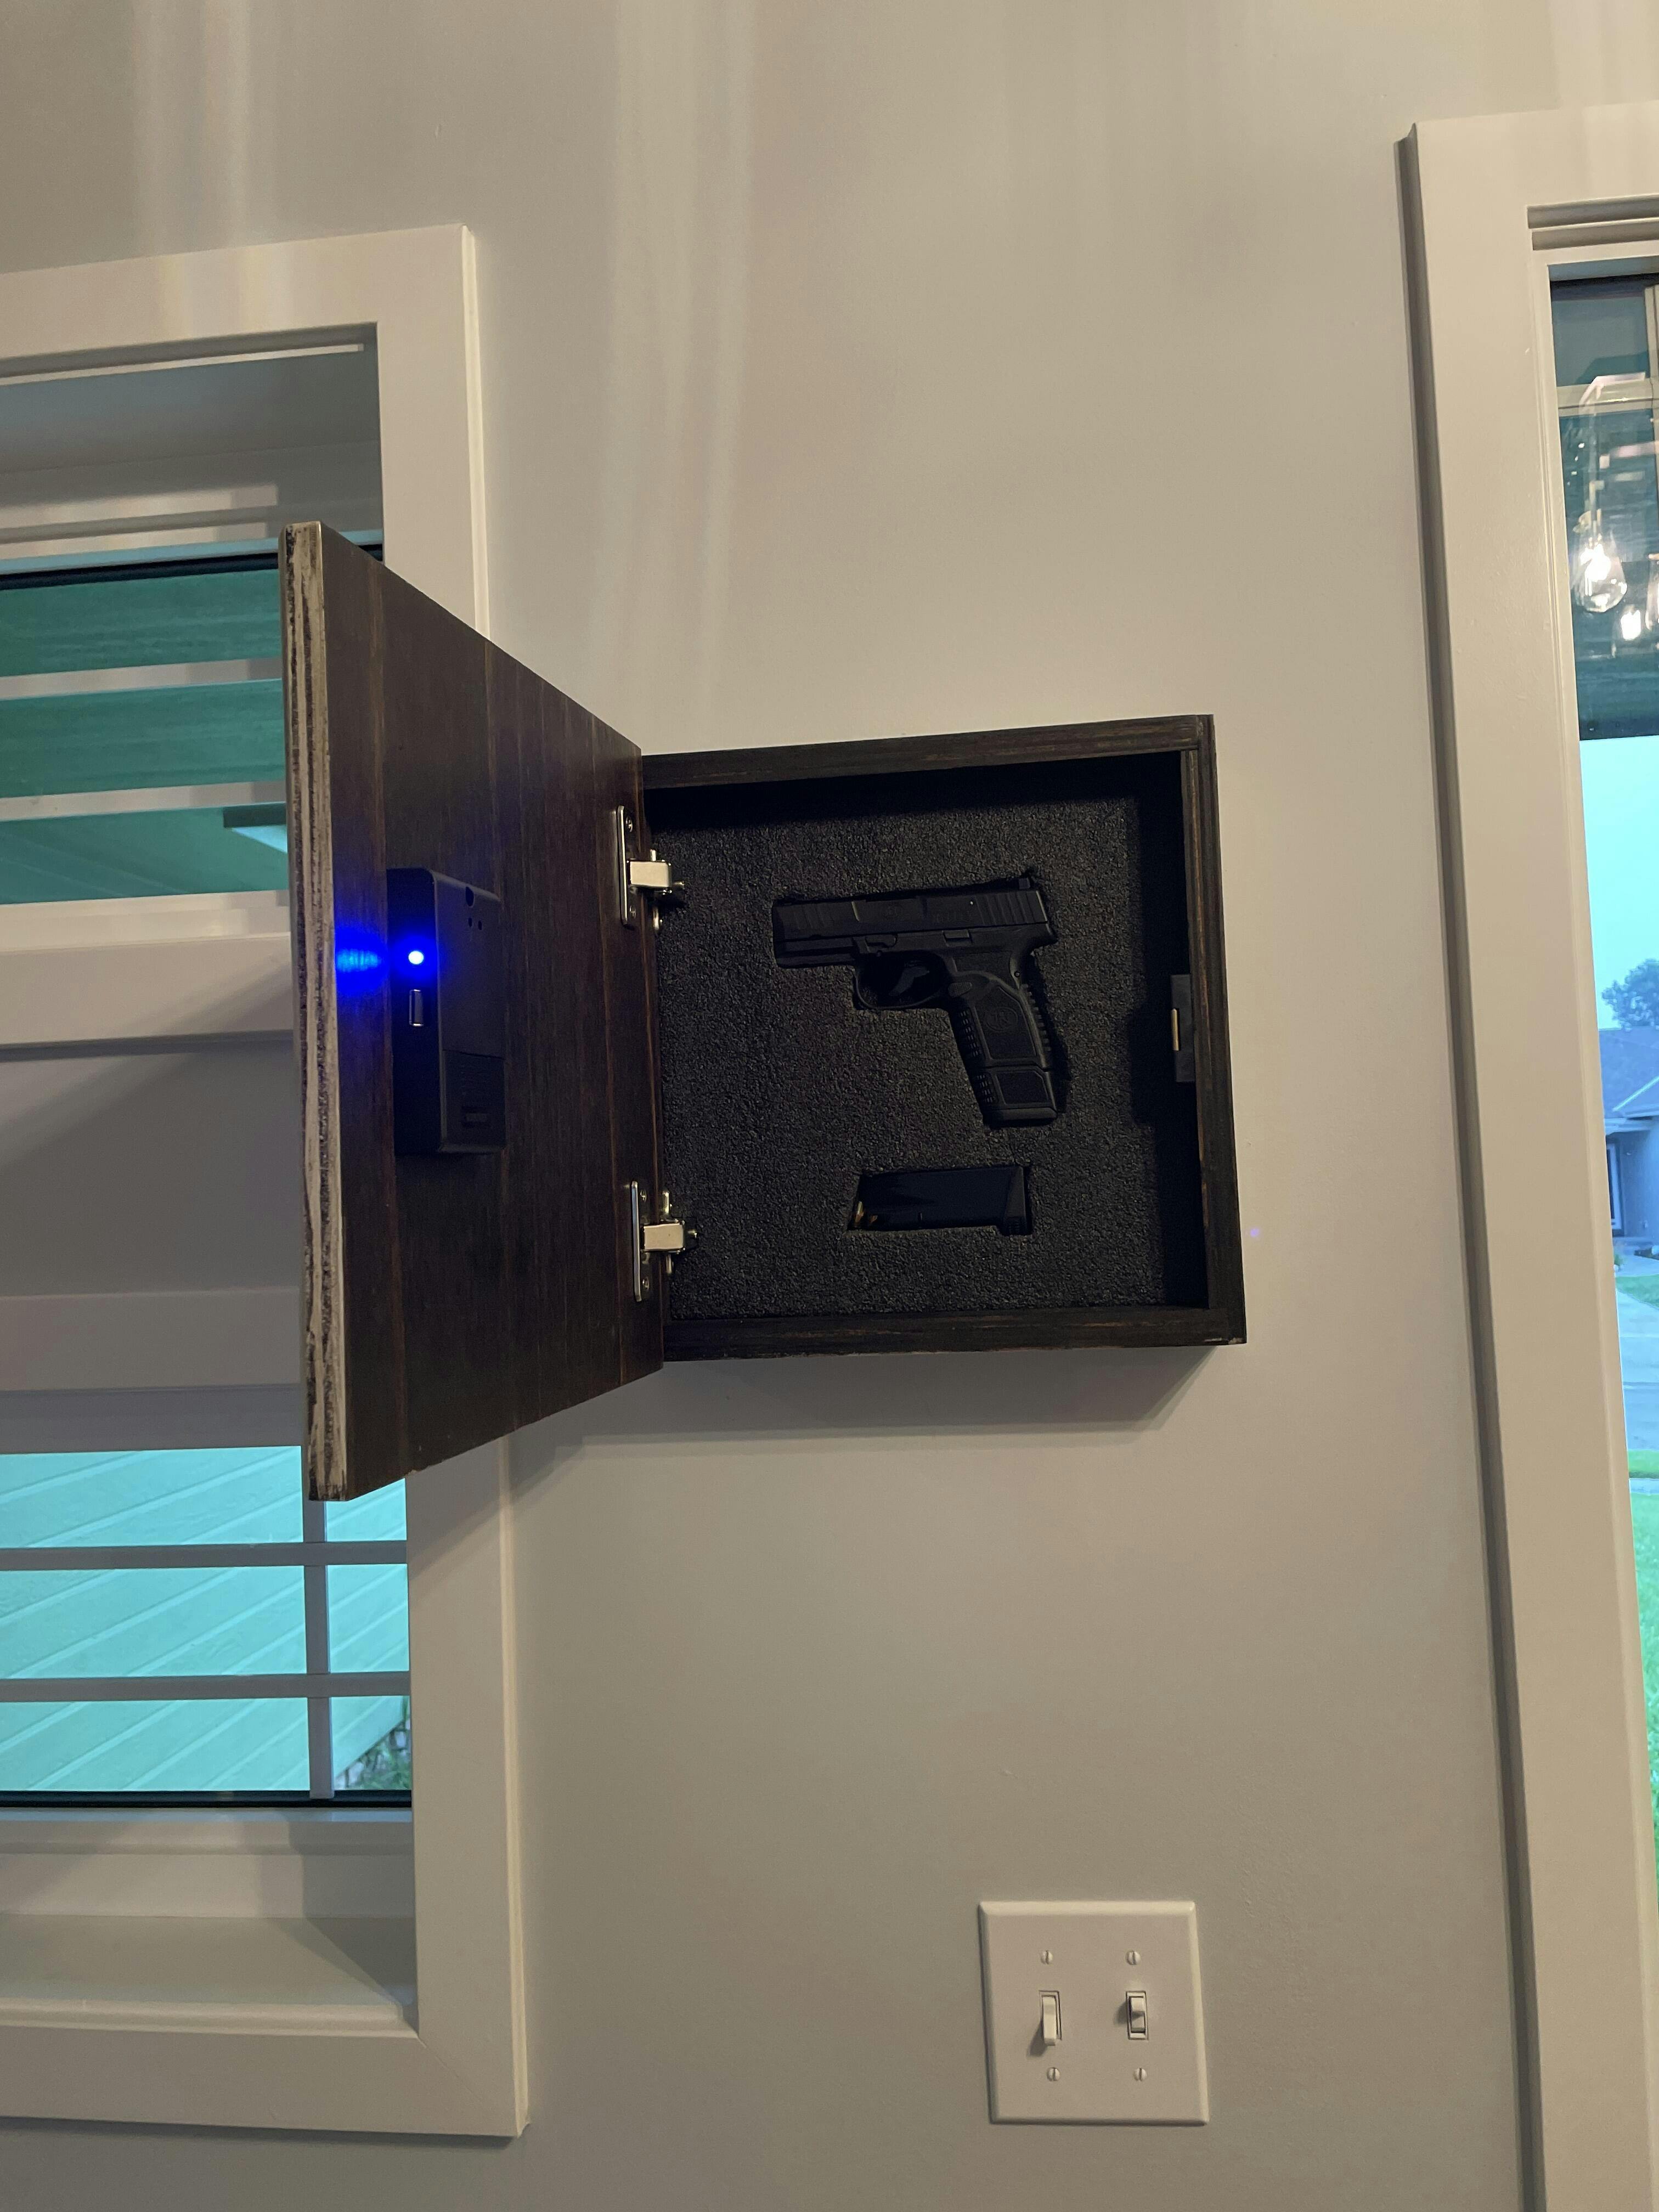
- You should understand the advantages and disadvantages of the different locking systems. It is best to pick one depending on the items that you plan to put inside the safe. If you need to keep cash, jewelry, and other important documents, go for biometric safes. They offer better security compared to other types.
Installing a Home Wall Safe

Once you’ve successfully purchased a wall safe, the next set of instructions would be for the installation. Here is a simple and easy-to-follow guide to install your vault on the wall.
-
Prepare the Tools
You need a few tools to set up the vault directly on the wall.
- Pencil: You need it to mark the areas that you need to cut. It can be used to mark the locations of the studs as well.
- Stud finder: Using it would help you find all the studs on the wall. The wall safe would be installed between two studs so you definitely need this search tool.
- Ruler: To cut the drywall accurately, you need this tool.
- Drill: Although you can use a screwdriver to install the safe, a drill would do it faster. There are no holes in the studs so the drill will do the trick.
- Drywall saw: You need this to cut through the drywall. A regular knife won’t cut it so you need a small drywall saw.
-
Search for the Studs
Wall safes are installed on studs. You can put a bracket inside if you want, but it’s easier and sturdier if you can find the studs on the wall. There are two ways to find the studs:
- Use the Stud Finder: This is the easiest way since the stud finder will indicate if there is a stud underneath. You just need to move the stud finder around to find them.
- Use a hammer: If you don’t want to use a stud finder, a hammer or any heavy tool can be used to find a stud. Tap on the wall with a hammer and listen to the sound that it makes. If the sound is empty or hollow, it means that there is no stud on that location. If the tap is firm, then you’ve found your stud.
-
Cutting a Hole in the Wall
Once you’ve found the studs, the next step is to cut a hole in the wall. Here is a step-by-step guide on how to do it:
- Use your pencil and start marking the studs. The safe will be installed between these studs and they will serve as the basis for the hole.
- Take your ruler and trace the area that you’re going to cut. Double check the measurement of your wall safe to make sure that it would fit snugly on the hole.
- Get your drywall cutter and start cutting on the drywall. Before you completely cut the hole, cut a small part where your hand can pass through. See if there are electrical wirings on the wall.
- If the area behind the wall is clear, continue cutting it until you make a hole where your home wall safe would fit.
-
Put the Safe Box in the Hole
You can smoothen the sides of the square hole that you created. Once it’s done, the next step is to put the vault into the hole. If the area is too wide, you can add shims to get a snugly fit. Remember that the safe should be firm and both sides should fit perfectly between the studs.
-
Drill the Screws into the Studs
Wall safes usually have two to three holes inside. Open the vault and get your drill. Put a hole in the stud and position the screws. Make sure that you tighten the screws so the vault would be secured.
-
Put the Shelves
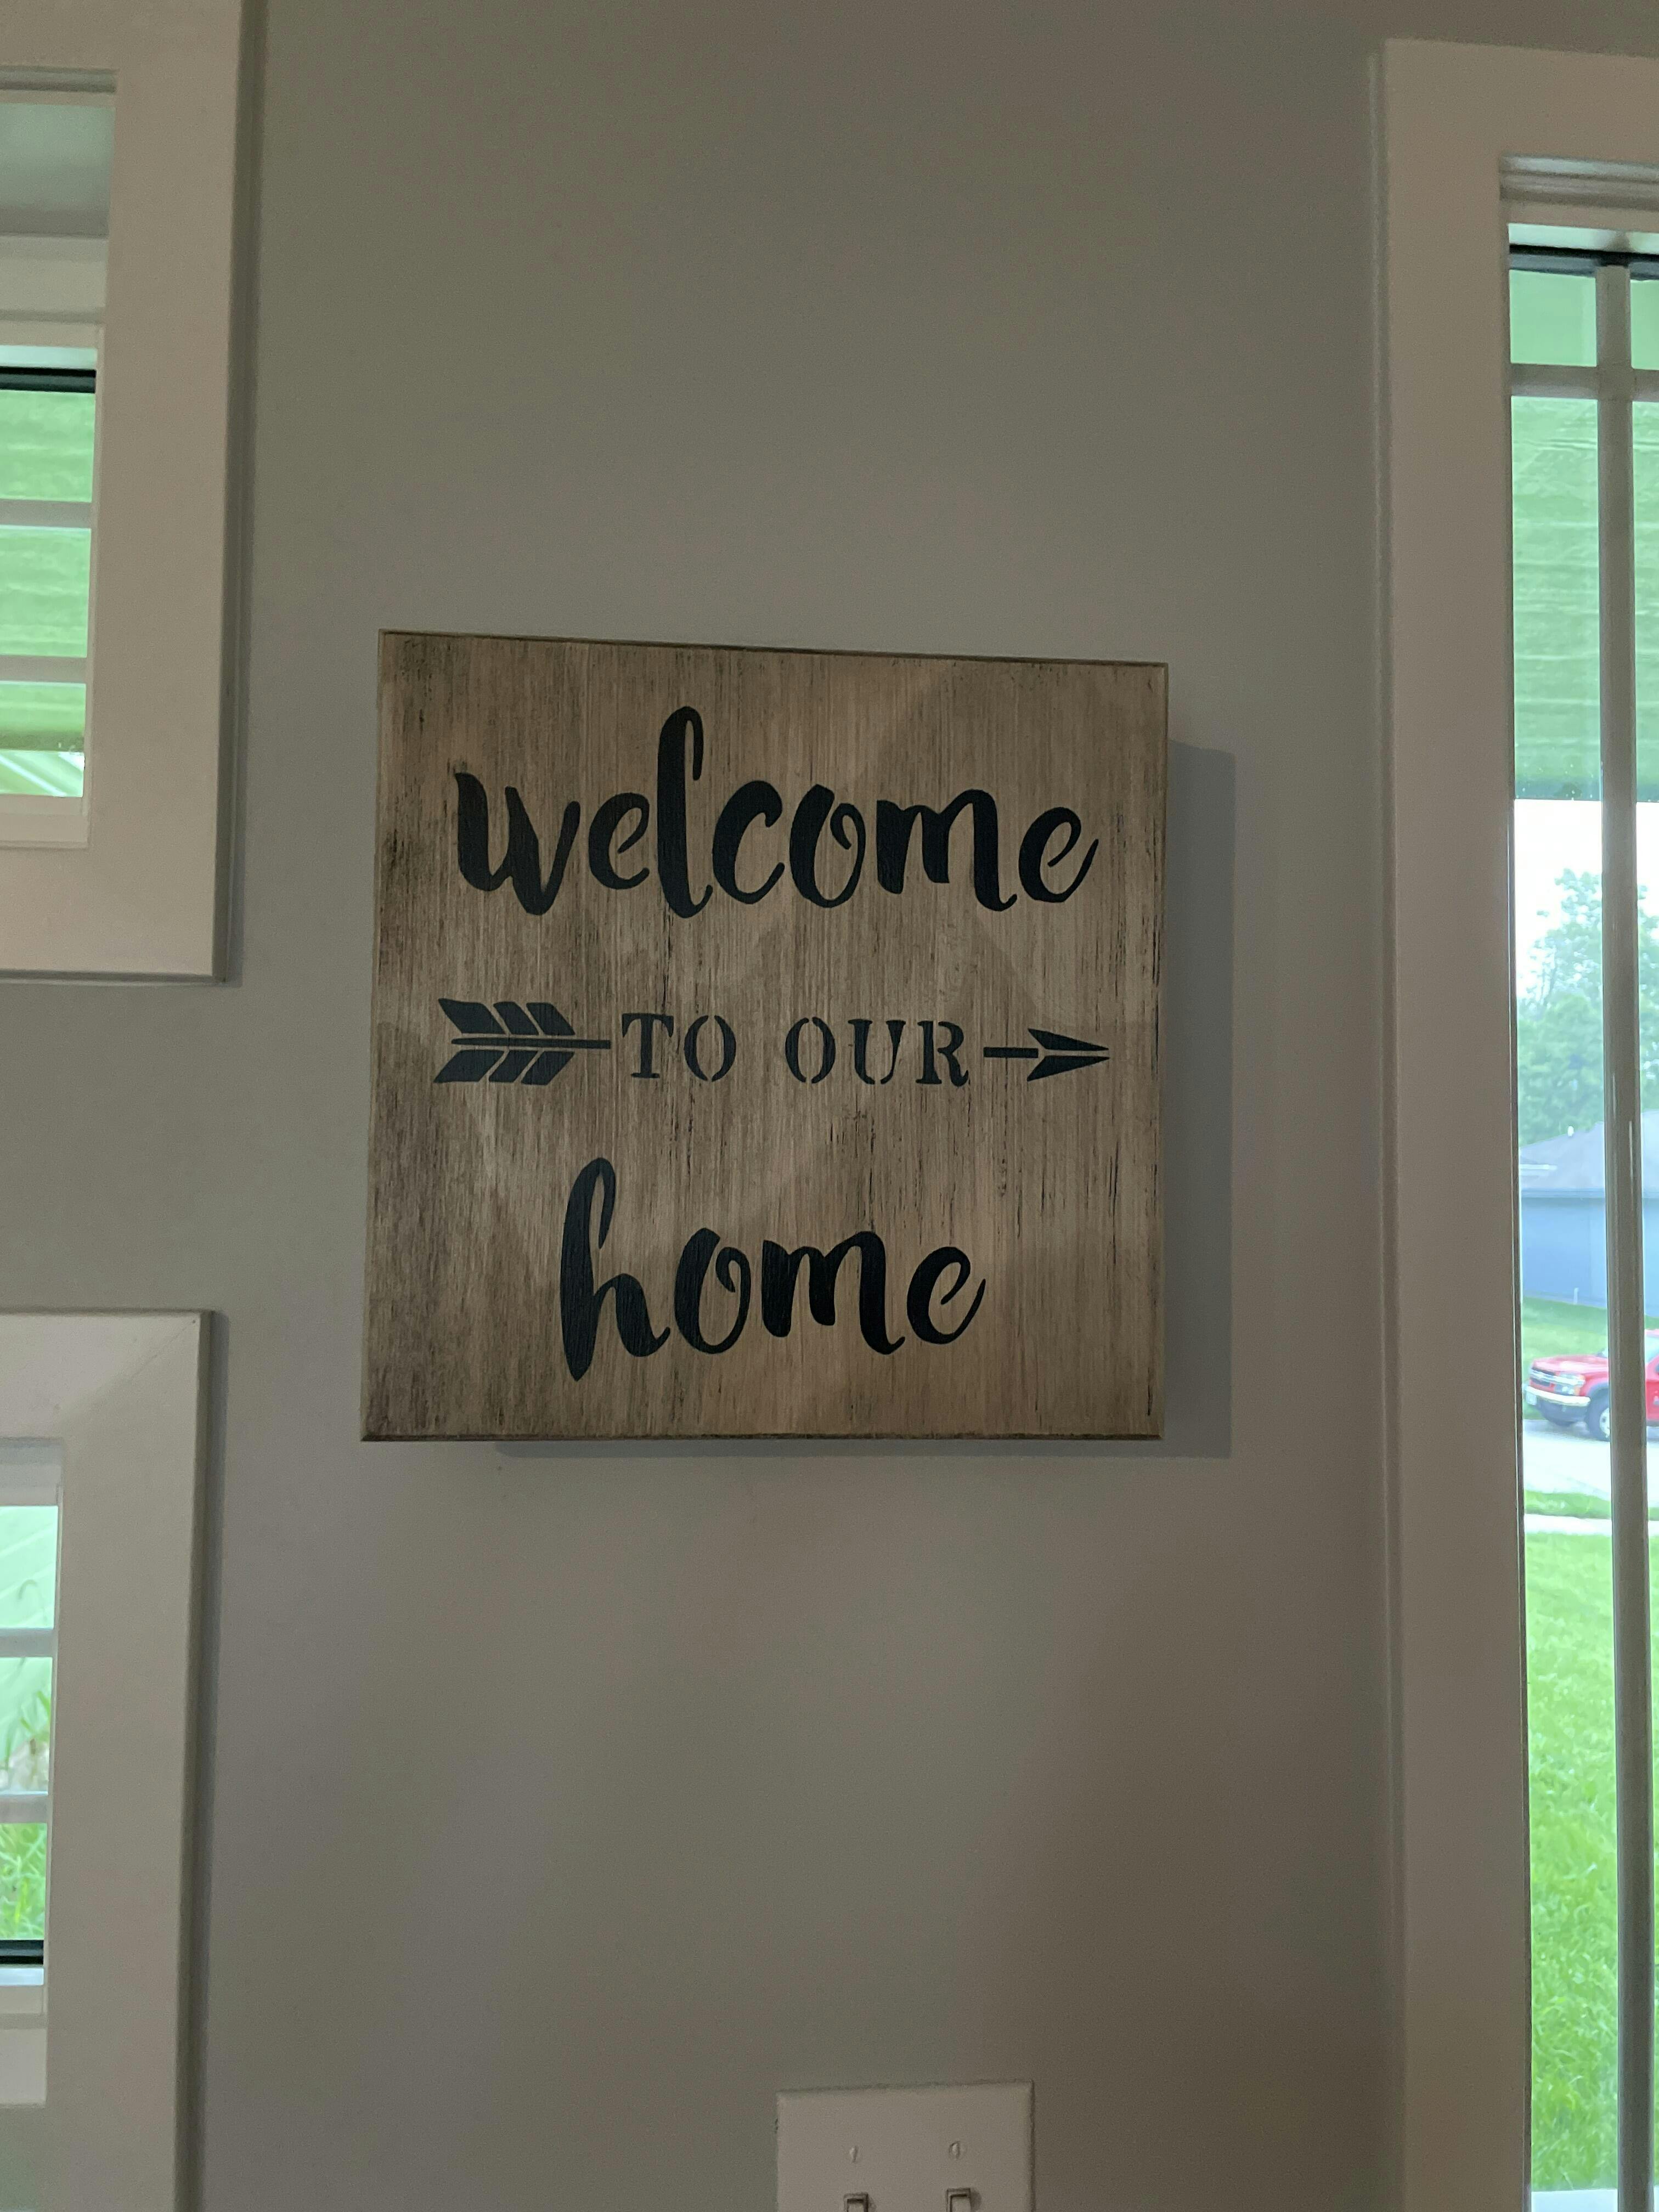
If you’ve successfully screwed the vault on the studs, the last step is hiding it. Putting a picture frame on top would be a good idea. Although it’s a bit cliché as they’ve been doing this in movies for a long time, this is the best method that you can use to keep your vault protected. It will be hidden and you can have easy access to it as well.
Final Thoughts
Installing a home wall safe is not too difficult if you have the right tools. The installation process is extremely easy and you won’t even break a sweat. To keep all your valuable safe and protected, a vault in the wall would be your best option.
If you are excited to get a high-quality wall safe, there are a few amazing models and brands that you can choose from.