


Crafting a gun rack can be a fulfilling project for firearm enthusiasts. It offers a storage solution and allows you to showcase your skills and create a piece that perfectly fits your needs and style. This guide will explore the world of DIY gun racks, providing instructions for various designs. By the end of this article, you will have all the knowledge and inspiration to embark on your custom storage solution for your firearms.
1. Classic Wooden Wall Mounted Rack
Materials Needed;
- A wood board ( hardwood)
- Wooden pegs or hooks
- Wood glue
- Screws
- Sandpaper
- Stain or finish
Steps;
i. Cut the wood board to your desired length. This will serve as the backboard of the rack.
ii. Smooth out the edges and surface of the board using sandpaper to achieve a finish.
iii. Determine how you want to space out and position the pegs or hooks, ensuring a distribution for an aesthetic.
iv. Attach the pegs or hooks securely using wood glue and screws to enhance stability.
v. Optional: Apply a stain or finish of your choice to enrich the beauty of the wood while providing protection.
Tip: For a touch, you might want to consider adding some designs, initials, or important dates onto the backboard.
2.PVC Pipe Gun Rack
Materials Required;
- PVC pipes of diameters
- PVC pipe cutter or saw
- T shaped L shaped and straight PVC connectors
- PVC cement
- Measuring tape
Steps;
i. Cut the PVC pipes into lengths based on the size of your firearms. You can use diameters for accommodating gun sizes.
ii. Connect the pieces using the connectors to create the desired configuration. T-shaped connectors work well for supporting barrels, while L-shaped connectors can be used as stock mounts.
iii. Apply PVC cement to secure all connections in place. Allow time for the cement to dry and set properly.
iv. Optional: Enhance the appearance of your PVC rack by painting it to match your decor or applying a coat for a finish.
Tip: To make accessing your firearms easier, you may want to consider incorporating rotating connectors or hinges into the design.
3. Plywood Standing Rack with Drawers
Materials Required;
- Plywood sheets of thicknesses
- dowels or rods
- Drawer slides
- Screws
- Wood glue
- Sandpaper
- Finish or paint
Steps;
Plan out. Cut the plywood sheets according to your desired measurements for creating the backboard, side panels, and drawers.
Here's a step-by-step guide on setting up a gun rack with storage;
i. Consider the dimensions for your firearms and storage requirements.
ii. Construct the rack structure by using wood glue and screws. Make sure the backboard is securely attached to the side panels.
iii. Install dowels or rods at intervals to support your firearms.
iv. Attach drawer slides to designated spaces on the side panels.
v. Install drawers using pieces of plywood, ensuring they slide smoothly along the drawer slides.
vi. Smooth out any edges or surfaces by sanding them for a finish.
vii. Apply a finish. Paint to safeguard the wood and enhance its visual appeal.
A helpful tip: Customize drawer sizes according to your needs, whether for storing ammunition, accessories, or cleaning supplies.
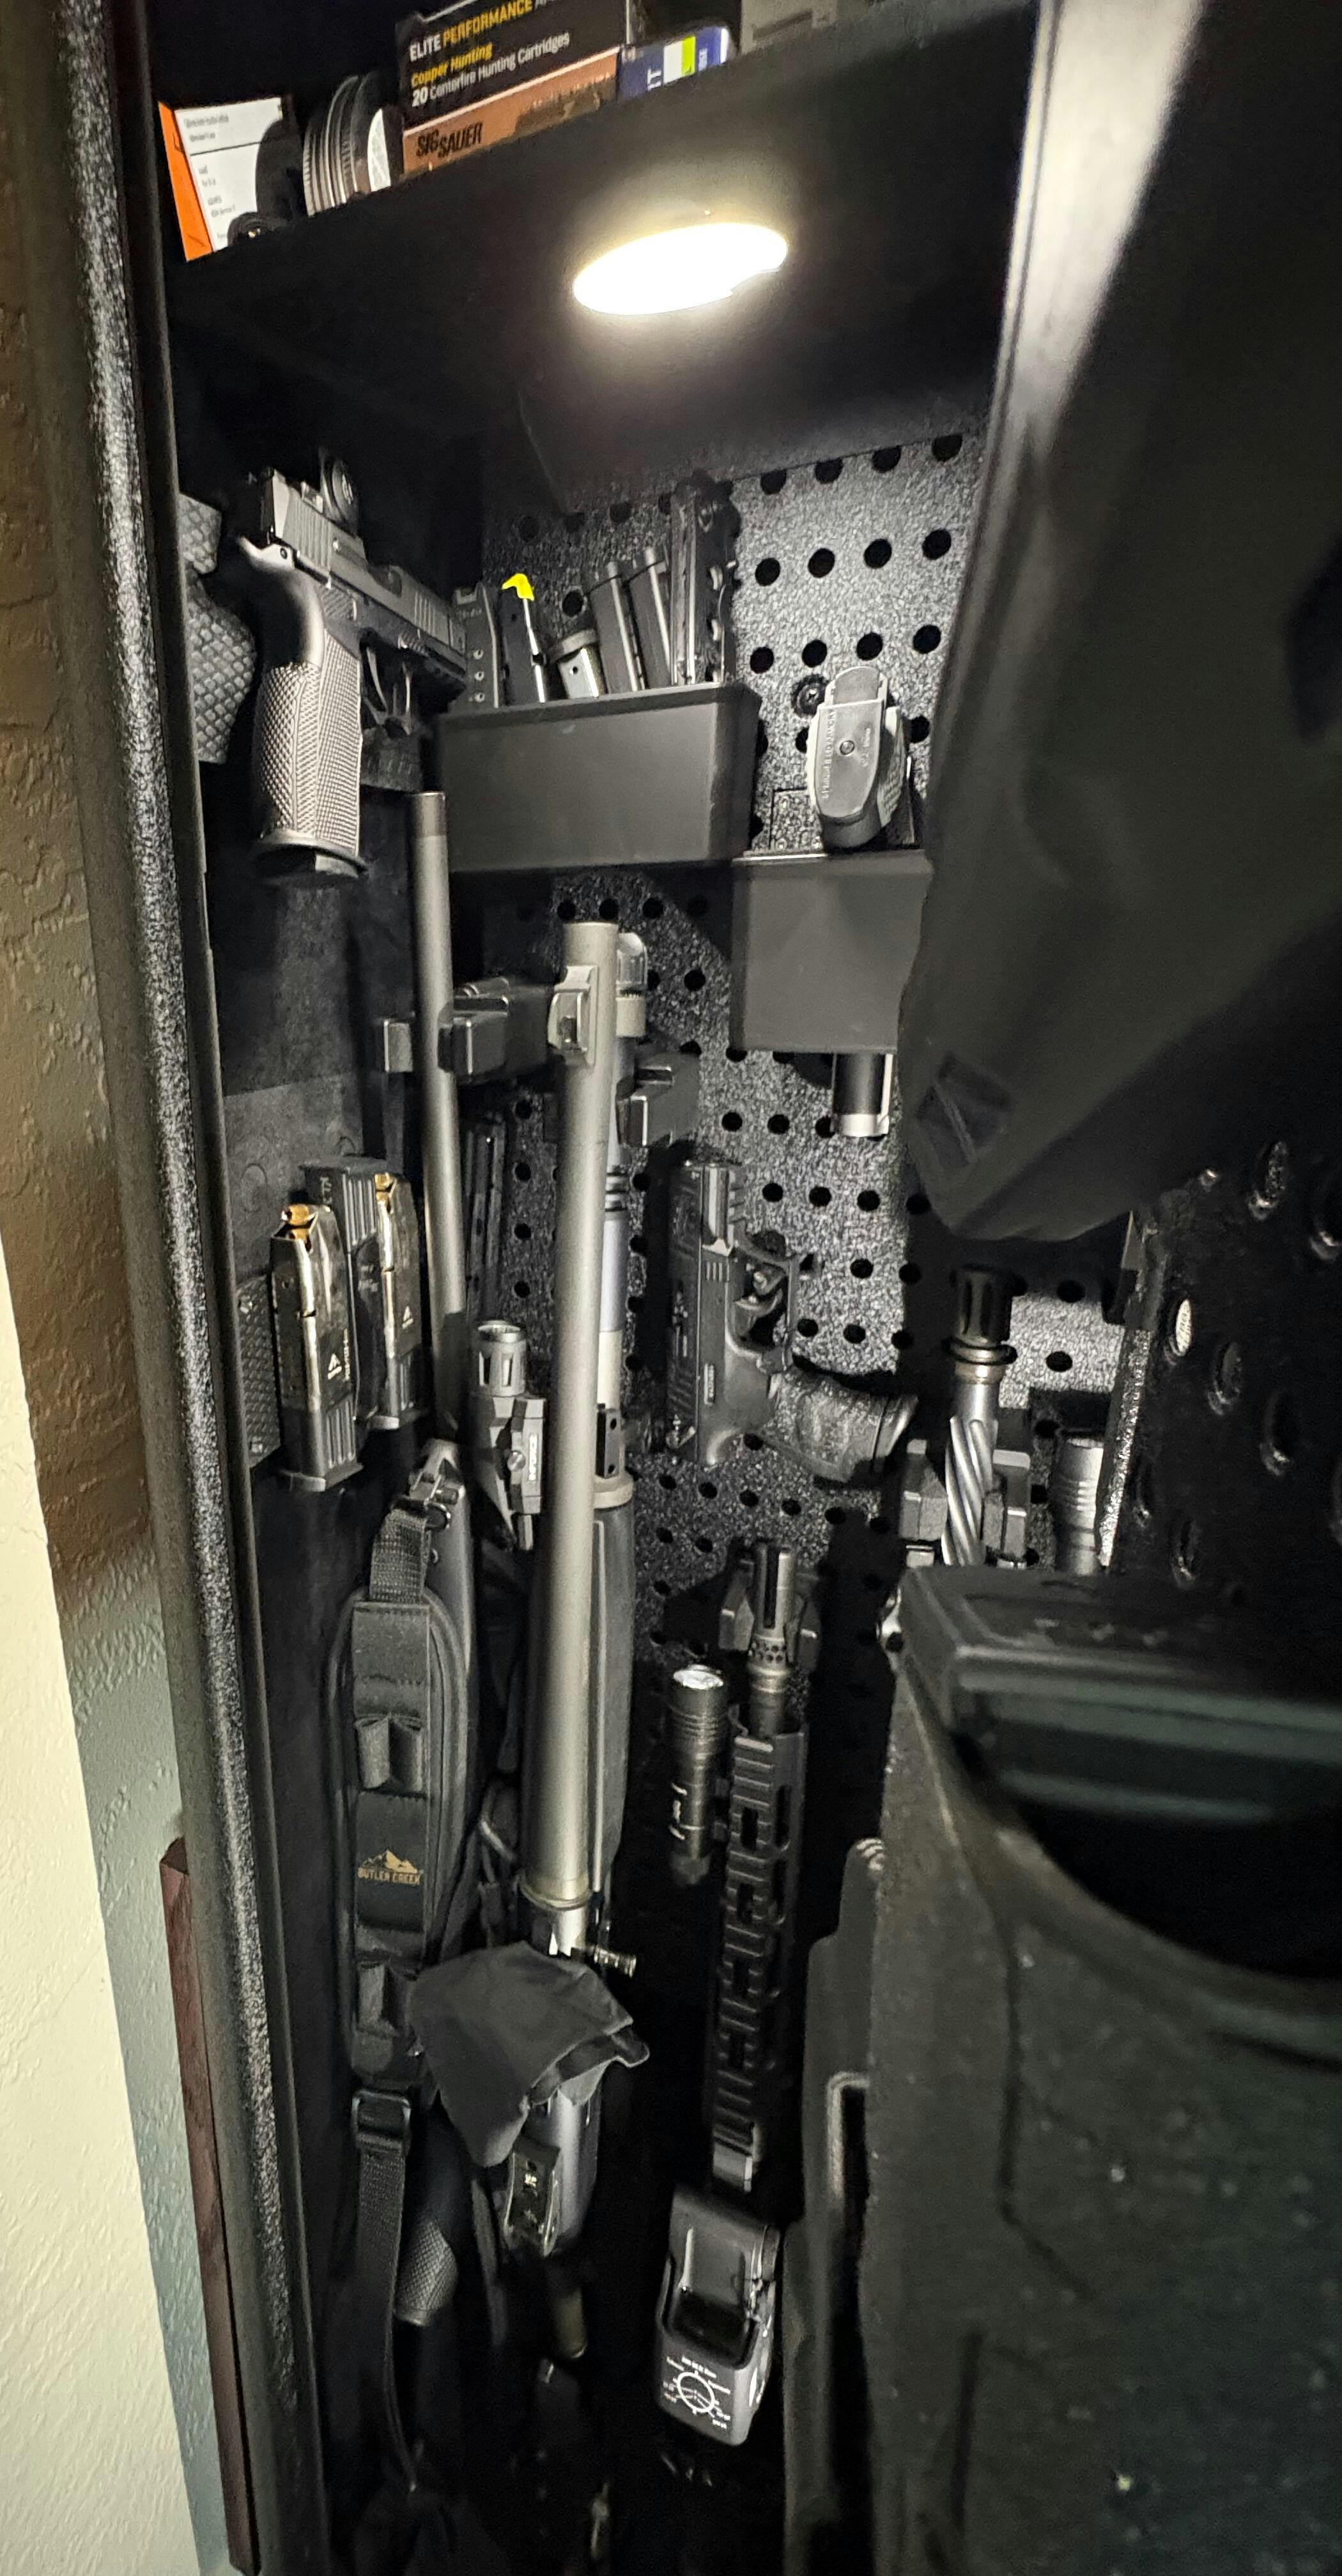
4. Pegboard Gun Rack with Accessories Organizer
Materials needed;
- Pegboard panel
- dowels or hooks
- Pegboard accessories (hooks, baskets, tool holders)
- Screws
- Wall anchors (if required)
- Paint or finish
Follow these steps;
i. Securely mount the panel on a wall using screws and wall anchors that can support the weight of your firearms collection.
ii. Insert wooden. Hooks into the holes to support your guns, arranging them based on your collection's layout.
iii. Attach pegboard accessories such as hooks, baskets, and tool holders to conveniently store firearm-related items like magazines, cleaning supplies, or tools.
This approach allows you flexibility in organizing your firearms while providing space for accessories and supplies.
Optional: You can paint or finish the pegboard to match your decor and add a layer for durability.
Tip: Make the most of accessories to optimize your organization and storage space.
5. Repurposed Wooden Pallet for a Rack
Materials Needed;
- pallet
- Wood screws
- Saw
- Sandpaper
- Finish or paint
Steps;
i. Take apart the pallet to get boards. Make sure to remove any nails or splinters from the boards.
ii. Build the rack structure using the boards. Consider adding shelves or compartments for storage options.
iii. Use wood screws to attach the boards forming the backboard and supports for your firearms.
iv. Cool the surfaces and edges by sanding them down for a look.
v. Apply a finish or paint to protect the wood and enhance its appearance.
Tip: Keep some boards as shelves for storing accessories, ammunition, or cleaning supplies.
Crafting your custom gun rack through DIY techniques offers an efficient storage solution for your firearms and allows you to incorporate your personal style and preferences into its design. Whether you prefer a wall-mounted rack, a practical PVC pipe rack, or a versatile standing rack with drawers, there are countless possibilities limited only by your imagination.
Ensure you prioritize safety and that your DIY gun rack is strong enough to hold your firearms. Also, consider adding finishing touches such as paint, stain, or protective coatings to make it look better and last longer.
Take on this DIY project. Enjoy the satisfaction of creating a customized storage solution that keeps your firearms safe and showcases your love for guns and your creative side. Have fun crafting!